The Saddle Pain Dilemma: What To Do If Changing Your Bike Fit Doesn’t Work?
If you have ever spent a ride constantly shifting your weight, dreading the next climb, or finishing a multi-hour session with persistent numbness and saddle sores, you are not alone.
Saddle discomfort is the single most common complaint riders bring to bike fitting studios.
When saddle pain strikes, the default reaction for most cyclists is predictable: jump on forums, ask a local bike fitter for a demo saddle, or spend hundreds of dollars on the latest 3D-printed seat in hopes of finding immediate relief.
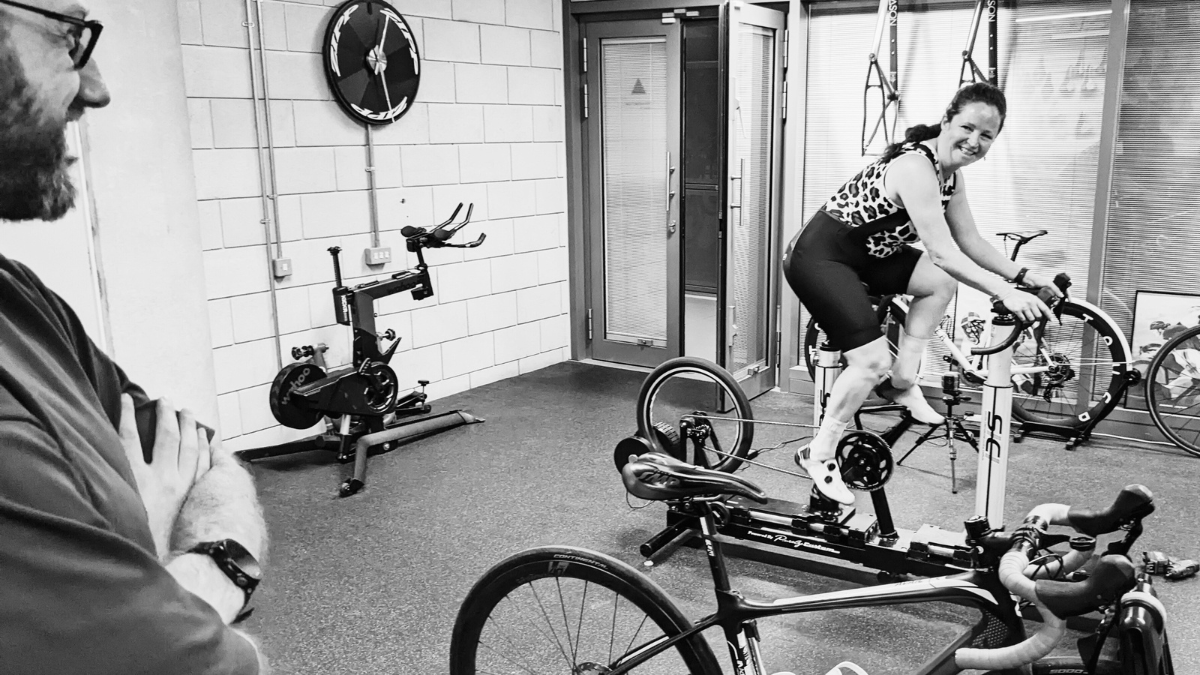
However, swapping saddles without looking at the bigger picture rarely solves the problem. Check out our previous blog post about potential equipment and bike positioning changes can help you solve you saddle discomfort, without having to change the saddle itself.
In this breakdown—inspired by a deep-dive episode of the Cycling Demystified podcast with hosts Wei and the two Matts—we examine why treating your saddle as an isolated component fails, how your entire body interacts with the bike, and what you actually need to do to ride pain-free if changing parts of your bike have not worked.
The Quick-Fix Myth: Why Demo Saddles and New Gear Aren’t Saving You
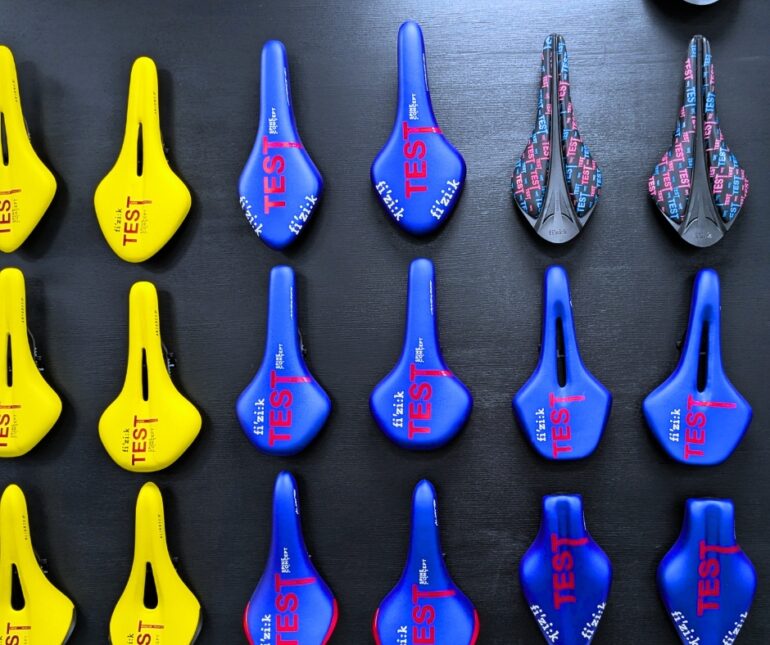
When saddle discomfort becomes intolerable, many riders ask their fitter or local shop, “Can I just borrow a couple of demo saddles to test out?”
It seems logical. If your butt hurts, change what your butt is touching. Yet, experienced bike fitters routinely decline this request… but WHY?
[ Rider Experience: Acute Saddle Pain ]
▼
[ Common Mistake: Swap Saddles / Borrow Demos ]
▼
[ Result: Root cause ignored; pain persists ]
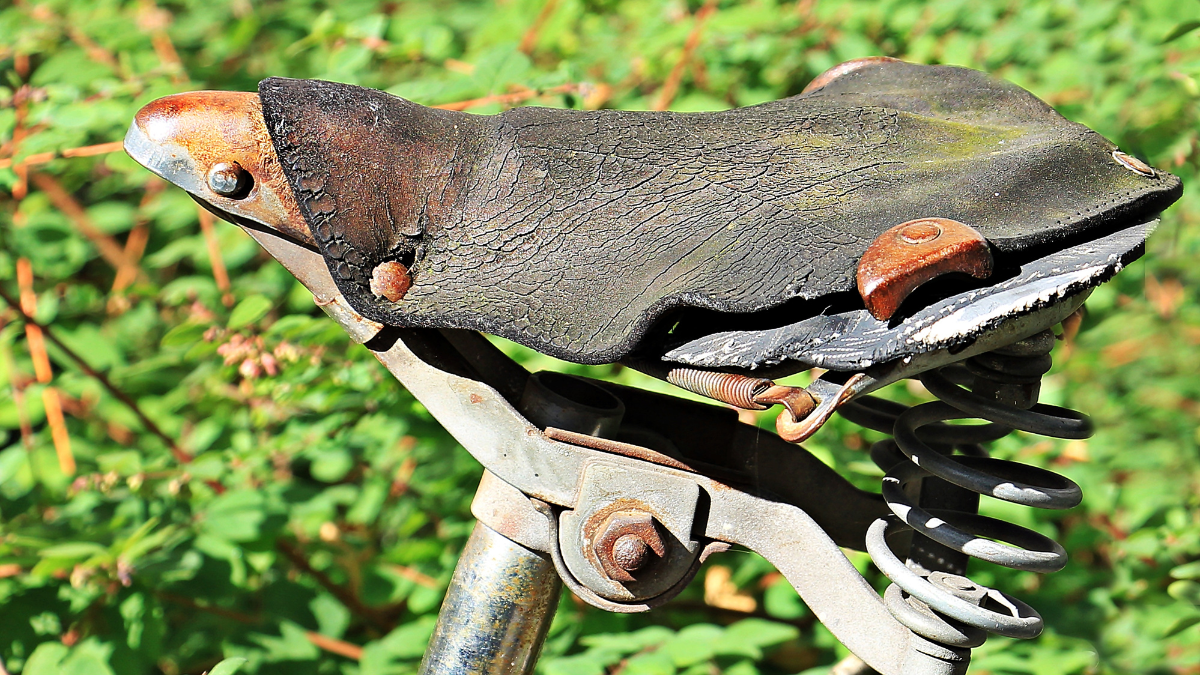
Saddle pain is almost always an acute symptom of a systemic issue, not a structural defect in the saddle itself. Unless you have experienced direct trauma, pain showing up at a specific contact point is usually caused by imbalances, improper setup, or lack of support elsewhere on the bike.
Buying a new $300 carbon-railed or 3D-printed saddle when your overall position is flawed is like putting premium tires on a car with broken suspension. It might change the sensation slightly, but it will not fix the underlying mechanics.
The Hierarchy of Stability: How Your Whole Body Affects Your Seat
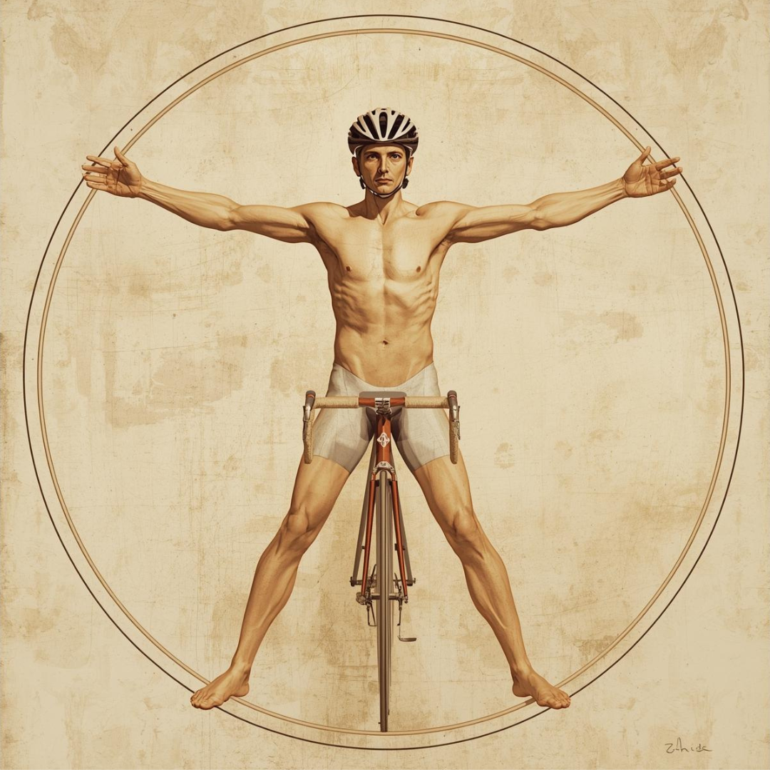
To understand saddle comfort, you must look at how your body distributes load across all five contact points: two hands, two feet, and your pelvis.
Less Weight – Hands 🔺
More Weight – Pelvis 🔺🔺
Most Weight – Legs + Feet 🔺🔺🔺
Your body operates on a hierarchy of stability. If your feet and hands are not properly supported, your pelvis takes on excess force to keep your torso stable against gravity.
The Pedal Stroke Analogy
Consider a basic gym squat. When you squat, all your weight drives down through your feet, engaging your quads, glutes, and hamstrings to control movement.
Pedaling a bicycle relies on a similar kinetic chain. Pushing down on the pedal requires hip extension to generate force. When your foot support, shoe fit, cleat position, and crank length are dialed in, a significant portion of your body weight is naturally unweighted from the saddle every time you push down.
If you cannot drive force effectively through your feet:
- Your body weight collapses onto the saddle.
- Your pelvis acts like an anchor, absorbing forces it was never designed to hold dynamically.
- Soft tissue becomes compressed, leading to chafing, pressure spots, and numbness.
This mechanism explains why WorldTour professionals can sit on minimal, firm saddles for long races. Because they drive massive, consistent power through their feet, they carry significantly lighter weight on their saddles than an average recreational rider spinning an easy gear.

The 5-Point Checklist: What to Fix Before Replacing Your Saddle
Before spending money on a new saddle, evaluate these five foundational variables with your bike fitter:
| Variable | Why It Directly Impacts Saddle Comfort |
| 1. Saddle Position | Height, fore/aft tilt, and overall angle dictate pelvic tilt and soft tissue clearance. Even your favorite saddle will feel agonizing if set 10mm too high or tilted wrong. |
| 2. Foot Support & Shoes | Arch support, wedging, and proper shoe width create a stable foundation. Stable feet allow your hips to transfer power smoothly without rocking across the saddle. |
| 3. Cleat Position | Cleats set too far forward can overextend your calf muscles, destabilize your ankle, and force your hips to compensate on the saddle seat. |
| 4. Crank Length | Cranks that are too long force your knee and hip into excessive flexion at the top of the pedal stroke. To clear this tight angle, your hips rock or shift to the side, causing friction and pain. |
| 5. Front-End Reach | If your handlebars are too far away or too low, your pelvis tilts unnaturally forward, crushing soft tissue against the nose of the saddle. |
If your fitter has not thoroughly evaluated your foot setup, crank length, and cockpit reach, changing your saddle is simply guessing in the dark.
Opening Pandora’s Box: Asymmetries and Off-Bike Functionality
What happens when your mechanical setup is perfect, but your saddle pain persists? This is where we open what fitters call “Pandora’s Box”: off-bike body function and asymmetry.
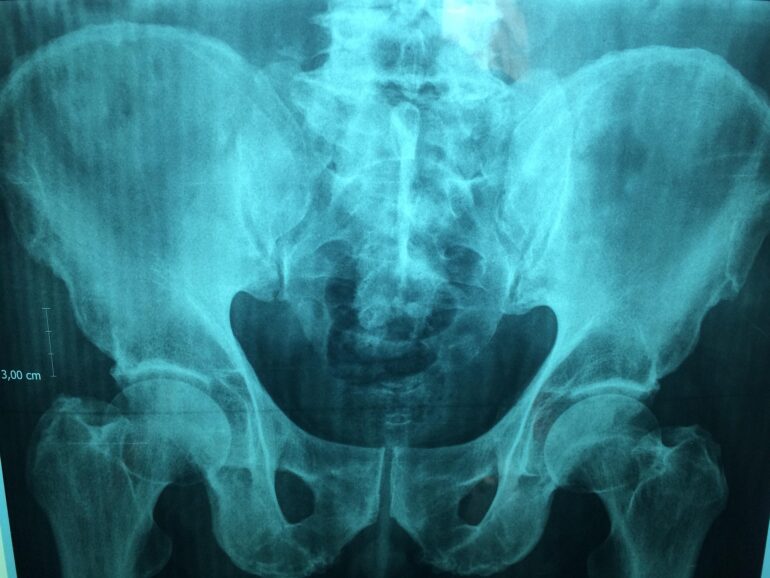
Bicycles are perfectly symmetrical machines. Human bodies, however, are inherently asymmetrical.
[ Symmetrical Bicycle ] ─── (Conflict) ─── [ Asymmetrical Human Body ]
▼
[ Functional Compensation ]
▼
[ Single-Sided Saddle Pain ]
Common Asymmetries That Ruin Saddle Fit
- Pelvic Rotations & Shifting: If your left and right hips possess different ranges of motion, your body will naturally twist or shift to one side to find leverage.
- Single-Sided Soft Tissue Pressure: Riders frequently complain that only their left or right side hurts. This usually occurs because the rider shifts off-center to compensate for a tight hip, a functional leg-length imbalance, or poor foot stability.
- Missing the Relief Channel: If a saddle features a center cutout for pressure relief, but your hips shift 15mm to the right while pedaling, you sit directly on the hard edge of the cutout rather than over the open space.
The Role of Off-Bike Strength
A bike fit creates an optimal environment for movement, but it cannot force a weak or asymmetrical muscle system to move symmetrically.
If you shift into your right hip during a bodyweight squat off the bike, you will repeat that movement pattern on the saddle. Addressing single-sided saddle discomfort frequently requires targeted off-bike strength work, core stability exercises, and mobility training to re-educate how your hips move under load.

Ownership, Intentionality, and the Adaptation Process
Resolving chronic saddle discomfort is rarely a single “eureka” moment during a one-hour appointment. It is an ongoing process of testing, feedback, and gradual adaptation.
[ Initial Assessment & Baseline Setup ]
│
▼
[ Controlled Field Testing / Low Intensity ]
│
▼
[ Rider Notes Trends & Provides Feedback ]
│
▼
[ Micro-Adjustments & Off-Bike Exercises ]
│
▼
[ Sustainable Comfort & Improved Function ]
1. Taking Ownership of Your Fit
Your fitter cannot ride the bike for you. To resolve complex saddle issues, you must track your ride feedback actively. Take note of specific details:
- When does the discomfort start (e.g., after 45 minutes, or only on steep climbs)?
- Where is the pressure located (e.g., sit bones, soft tissue, left side only)?
- What happens under different efforts (e.g., high cadence vs. grinding a big gear)?
2. Riding with Movement Intentionality
When you make positional changes or start off-bike mobility work, your body needs time to unlearn old habits. If you immediately execute an all-out effort, your nervous system reverts to its ingrained, asymmetrical movement patterns to produce raw power.
Slow down during initial post-fit rides. Focus intentionally on keeping your pelvis square, engaging your core, driving through your heels, and maintaining balanced posture. Build intensity only after your body adopts these improved movement patterns automatically.
3. Setting Realistic Expectations
Comfort is relative to the effort and duration of your ride. Riding four to five hours back-to-back will always generate some level of fatigue and contact awareness. However, you should expect clear pelvic bone support, an absence of sharp pain, and zero numbness.
Action Plan: Steps to Fix Your Saddle Discomfort
If you are currently struggling with saddle pain, follow this step-by-step roadmap to locate the true source of your discomfort:
Step 1: Re-engage your original fitter with clear, detailed feedback.
│
▼
Step 2: Methodically audit foot support, cleat placement, and crank length.
│
▼
Step 3: Screen your movement off-bike to identify hip and pelvic imbalances.
│
▼
Step 4: Commit to off-bike strength and mobility to support your posture.
│
▼
Step 5: Test new setups with patience, low intensity, and clear focus.
- Re-engage Your Original Bike Fitter: Instead of jumping to a new shop or buying random saddles online, return to the practitioner who knows your baseline setup. Provide detailed feedback about where and when the pain occurs so you can troubleshoot methodically together.
- Audit the Mechanical Setup: Ensure your fitter evaluates your entire kinetic chain—focusing on foot support, wedging, shoe width, cleat placement, and crank length before touching the saddle.
- Screen Your Body Off-Bike: Perform basic diagnostic movements like bodyweight squats or single-leg lunges. Identify functional hip shifts, tight hamstrings, or weak glutes that pull your pelvis crooked on the saddle.
- Commit to Off-Bike Conditioning: Integrate targeted core stability, pelvic alignment work, and hip mobility exercises into your weekly routine to correct asymmetries at the root level.
- Test Modest Changes Patiently: Give your body time to adapt to positional updates. Ride at lower intensities to ingrain proper movement patterns before putting your setup under race-pace stress.
Final Thoughts
A comfortable saddle is not a magic product you buy off a shelf; it is the natural byproduct of a balanced, well-supported interaction between your body and your bicycle.
Stop treating your saddle as an isolated fix. By looking at your setup holistically—balancing foot stability, mechanical position, and off-bike functional movement—you can eliminate chronic pain, prevent numbness, and get back to enjoying your rides.

If you’ve made it to the end of this article, thank you and we hope it’s been useful for you. We’d love to know your thoughts!
If you have any questions on your bike buying journey get in touch, we’re always an open door and there’s no such thing as a silly question: info@foundation.fit
If you’re looking to take ownership of your bike fit, book a session with us HERE